Adding people to your organisation
Invite the people who hold the answers, and the people who will be accountable for the work afterwards. You can do it during setup, or at any time later.
During setup
Step 2 of setup is Invite team members. It can be skipped — nothing later depends on doing it now.
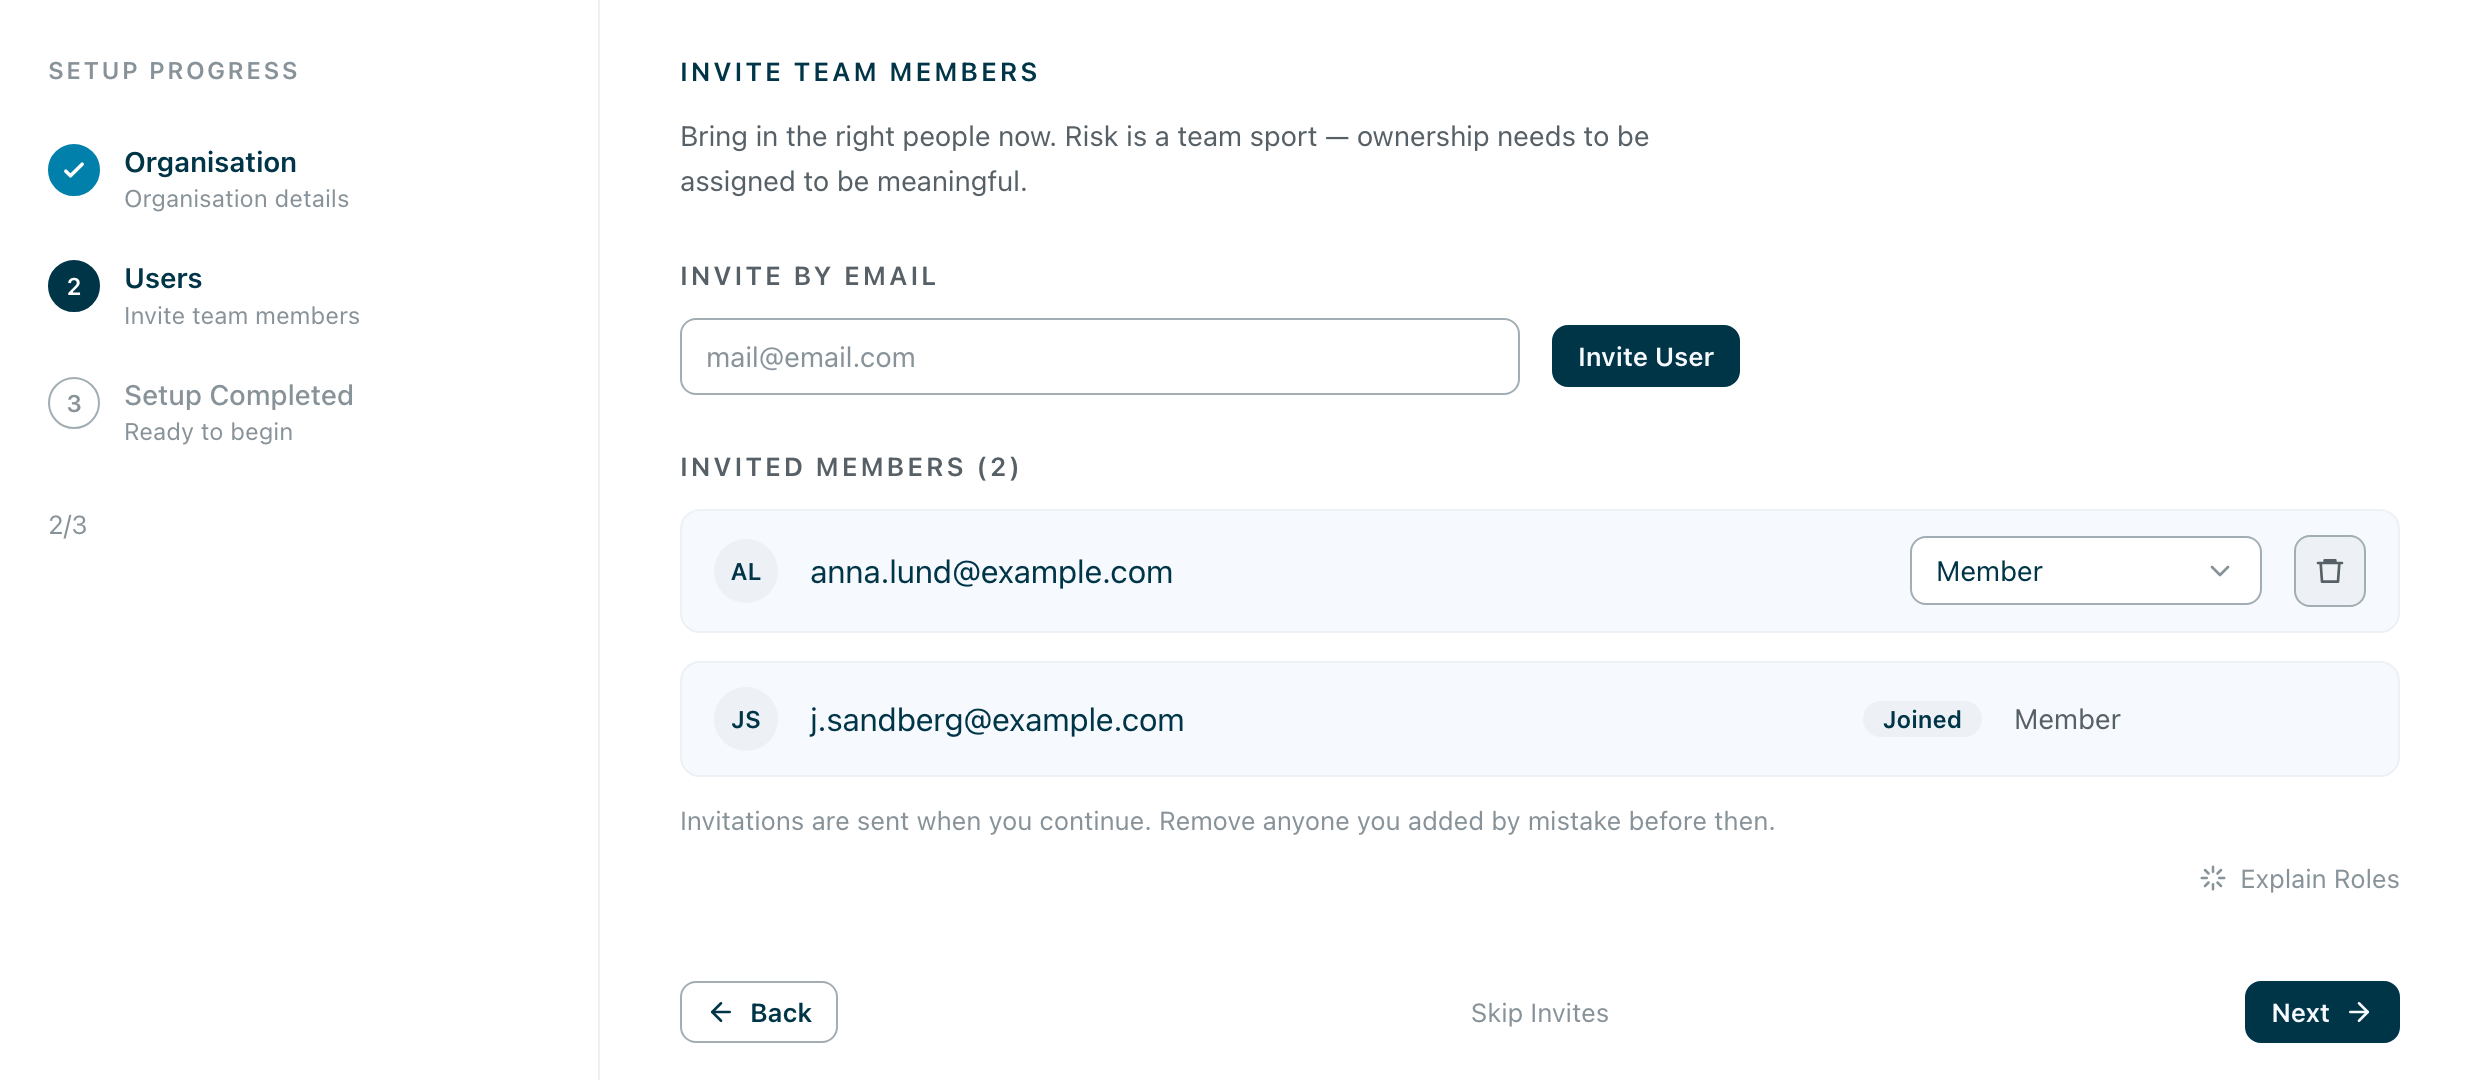
Enter an email address, choose the role, and add it to the list. You can invite the same people later from Settings, with the same result.
Later, in Settings
Go to Settings → Members & roles. Only an Owner sees the invite field and the role selectors; everyone else sees the list read-only.
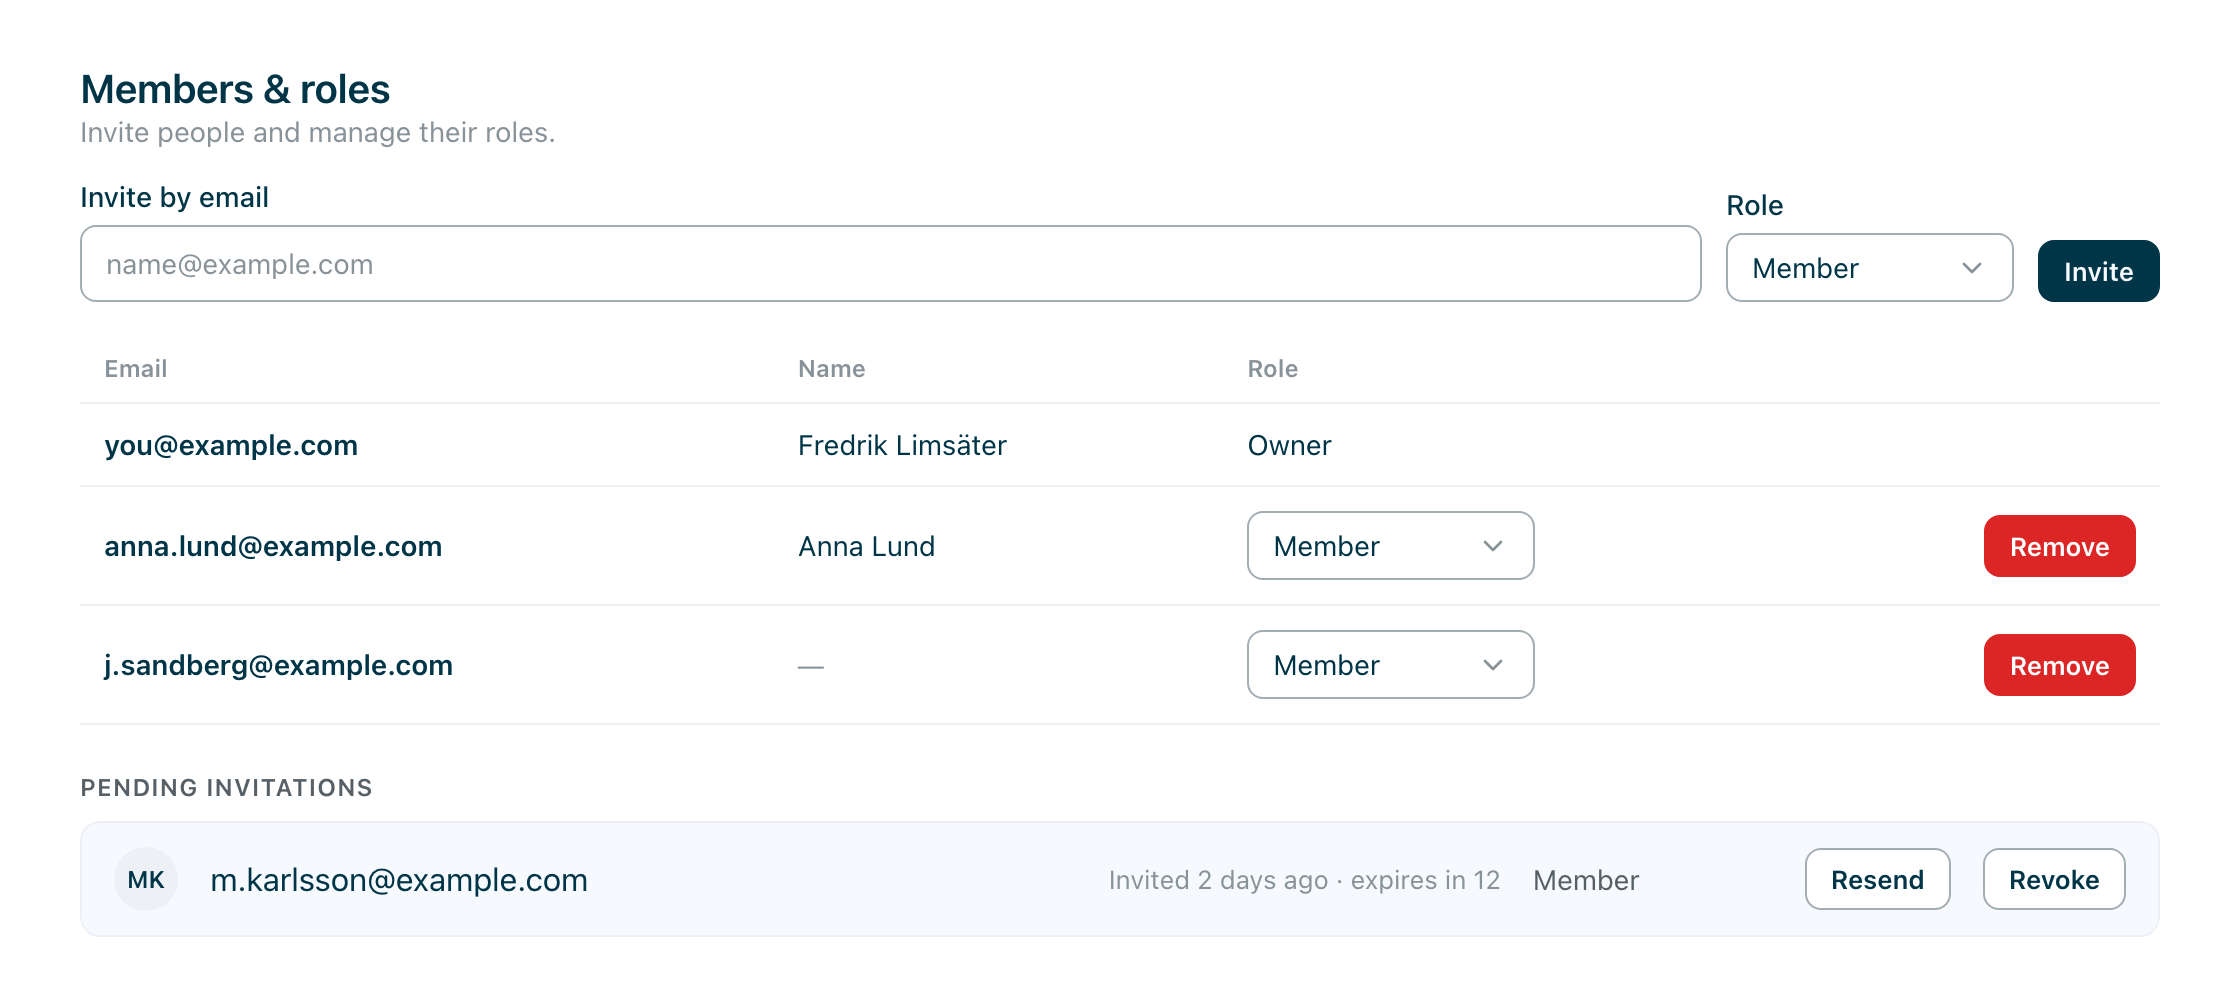
Enter the address, pick the role, and send.
Invitations that have not been accepted sit under Pending invitations with the date they were sent and when they expire. You can send one again, or withdraw it.
You cannot change your own role or remove yourself, and the last Owner cannot be removed or demoted — an organisation without an Owner would have nobody who could add one.
What an invitation looks like from the other side
Your colleague gets an email naming you and the organisation, in the language you are working in. Accepting takes them to the organisation directly; they do not go through setup and they do not create an organisation of their own.
An invitation is valid for 14 days. After that, send it again.
The two roles
Member — does the work. Runs and answers assessments, generates reports, builds and works the action plan, owns controls and closes tasks.
Owner — everything a Member can do, and administers the organisation: invites and removes people, changes roles, edits organisation settings, and manages the subscription and billing.
Most people are Members. Keep at least two Owners so nobody is locked out when someone is on holiday.
Evidence and access
Evidence you upload is visible only to you until you share it. Reports are readable by everyone in the organisation.
Removing a person removes their access, not their work: the assessments, answers and plan they contributed to stay with the organisation.